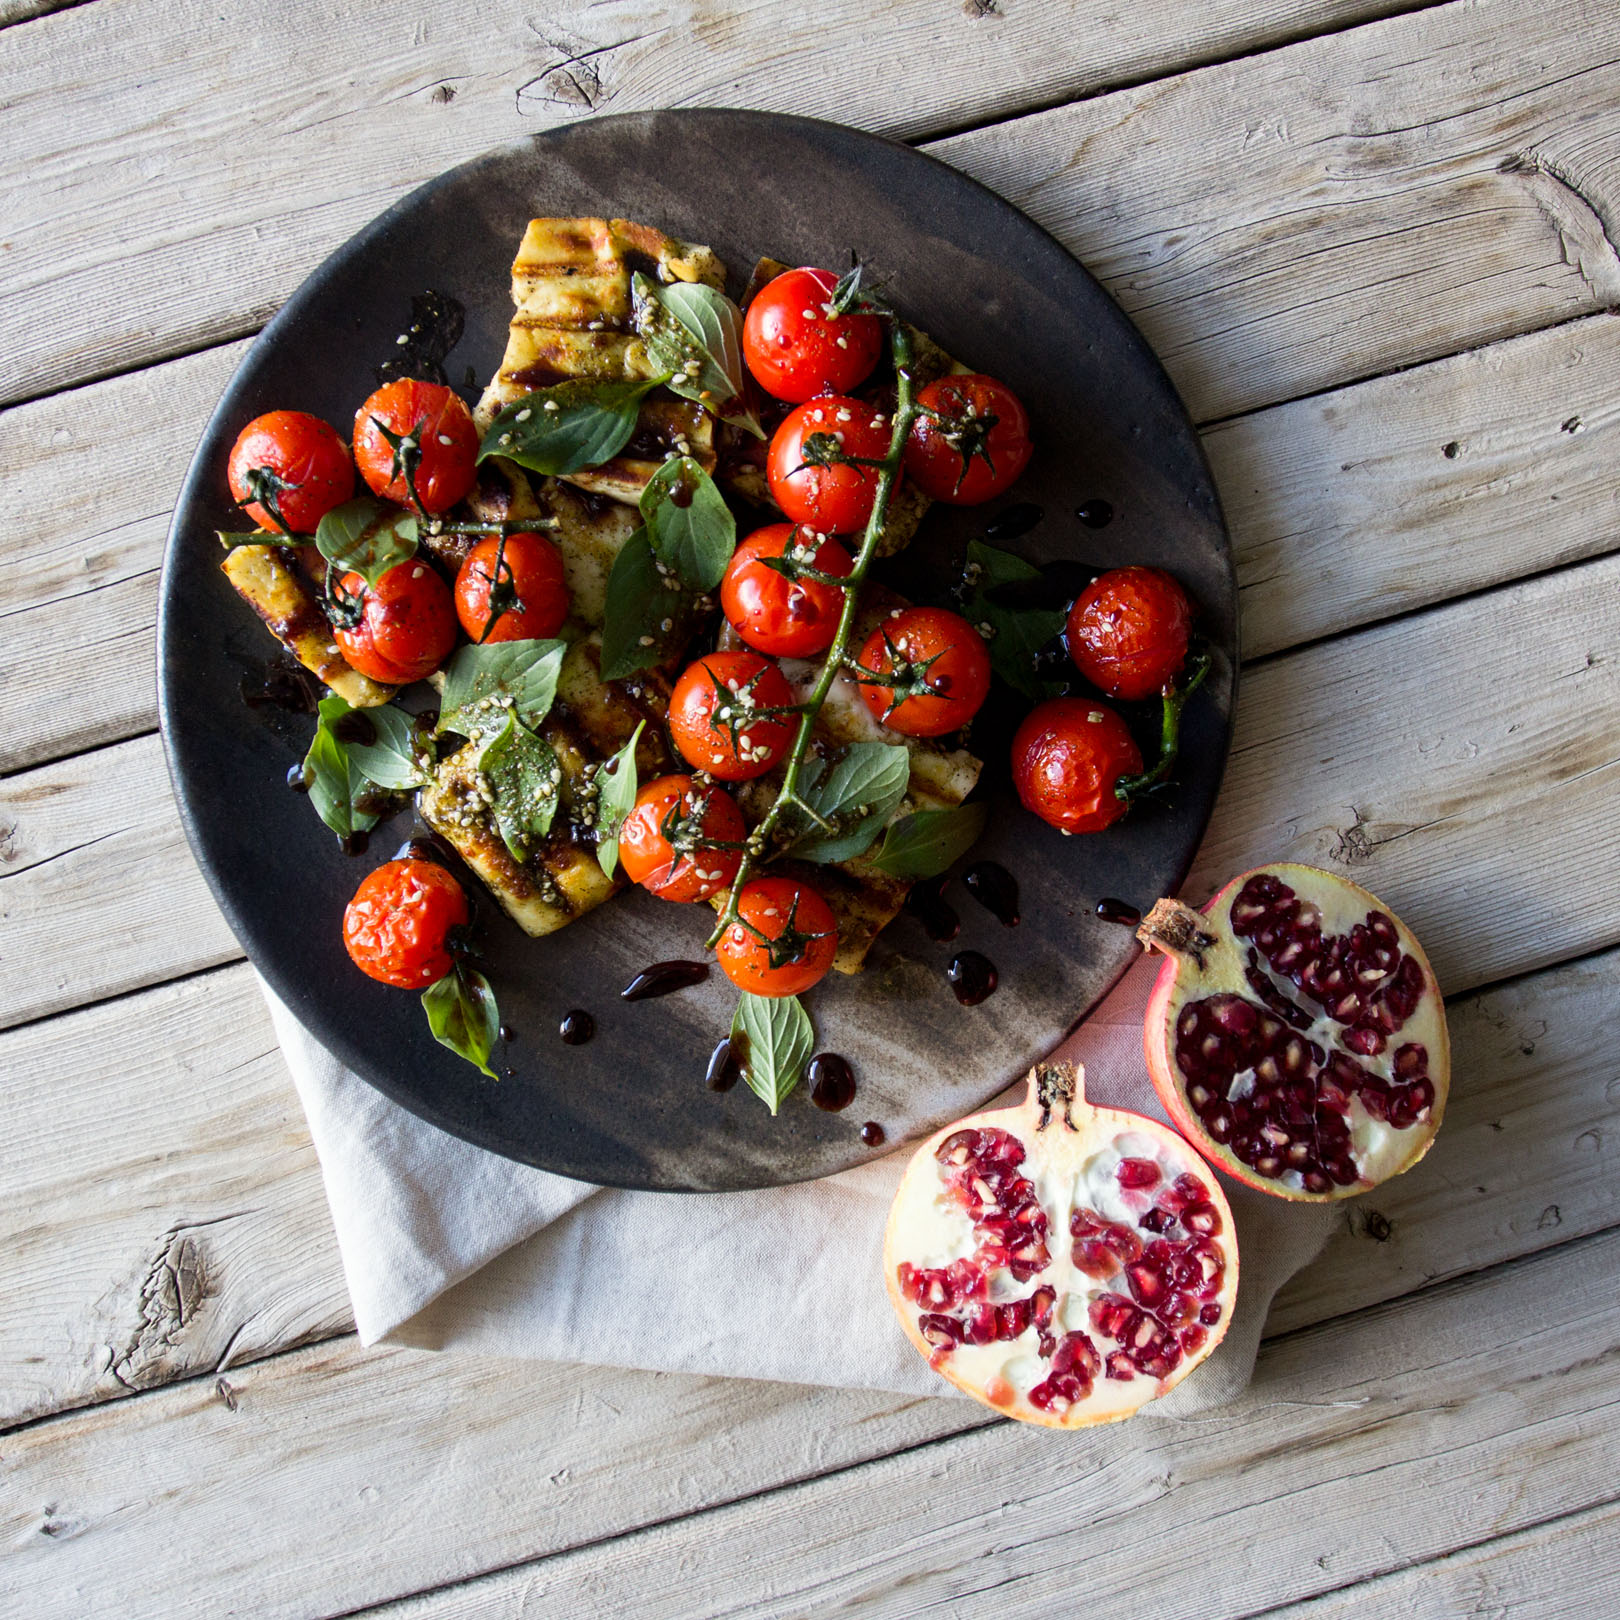
Halloumi & Cherry Tomato with Pomegranate Molasses

We’d like to wish you all a Happy New Year and share with you our first recipe of the year! 

Halloumi & Cherry Tomato with Pomegranate Molasses

Not only is it easier to make than expected, but it would make an impressive DIY gift in a cute jar with a label, and can be used for many applications beyond just a salad!  (makes enough for an appetizer for 4)

Ingredients for the salad

1 hour (including making the molasses)

  • One vine of cherry tomatoes (approx. 16 cherry tomatoes)
  • Eight slices of halloumi
  • One handful of basil leaves
  • Two tablespoons olive oil
  • Two tablespoons of zaatar
  • A pinch of salt

Ingredients for the pomegranate molasses

  • 1/12 – 2 cups of pomegranates from the Fruitful Day Box
  • ¼ cup of coconut sugar
  • 3 tbsp lemon juice

METHOD for the molasses

1. Put the pomegranate seeds through a juicer to extract the juice. Alternatively, (if you don’t have a juicer) you can blend the seeds and then pour through a strainer.

2. Place pomegranate juice, lemon juice and coconut sugar in a medium saucepan on medium heat. Bring to a simmer and then turn down to a very gentle simmer.

4. Let the juice simmer very slowly for up to an hour. It should reduce down by at least half. Once it begins to become more viscous, stop simmering. Bear in mind it will thicken once cooled, so don’t over reduce as it will be too sticky.

METHOD for the salad

1.Preheat oven to 180 degrees C.

2. Slice the halloumi into 8 slices about ½ a cm thick and 8cm long. Marinate them in 1 tablespoon zaatar, one tablespoon olive oil and salt.

3. Place the tomatoes (still attached to the vines) on a baking tray. Mix one tablespoon olive oil, one tablespoon zaatar and salt and pour over the tomatoes. Bake for 10 – 15 minutes.

4. While tomatoes are baking, put a skillet on medium heat.

5. Place the halloumi slices on the skillet and cook for several minutes on each side.

6. Assemble the halloumi and tomatoes on the plate. Add the basil. If necessary sprinkle with more salt, zaatar and olive oil.

7. Using a spoon, garnish the whole dish with the syrupy pomegranate molasses.

8. Enjoy!
Watermelon Fruit Roll-Ups

We can’t believe it’s October already! Halloween is around the corner and that means A LOT of unhealthy snacks. But…we’ve got a recipe up our sleeve that will fulfil your kid’s sweet tooth like no other.

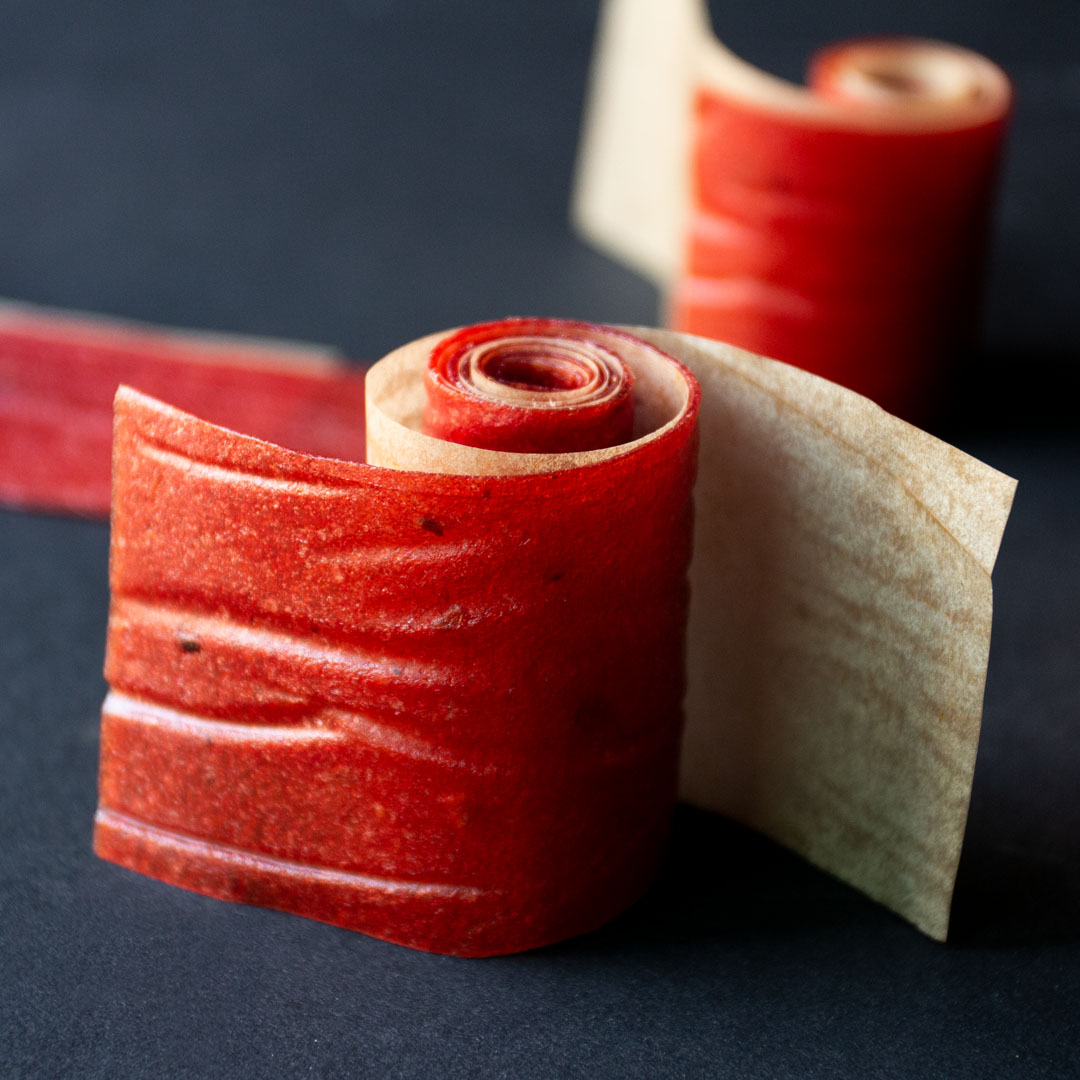
Our Watermelon Fruit Roll-Ups are an easy homemade snack. The first five ingredients in most popular store-bought fruit roll-ups are corn syrup, dried corn syrup, sugar, pear puree concentrate and palm oil.  In our case, we’ve ditched all the nasties and replaced it only with real fruit, coconut oil, and honey.

Why avoid corn syrup and palm oil?

  • Corn syrup is even more harmful than ordinary table sugar because of its high fructose content.
  • Palm oil is also a highly processed oil and is unhealthy for both us and the environment.

What about coconut oil? Is it good for you?

Coconut oil is often classified as a “superfood” because of its many benefits including:

  • Coconut oil is high in healthy saturated fats. These fats can boost fat burning and provide your body and brain with quick energy.
  • Coconut oil contains natural saturated fats that increase the good HDL cholesterol in your body.
  • Good for blood sugar and diabetes.
  • Aids in liver health.

So with just 4 simple ingredients, you’ll have the perfect healthy treat for your Halloween festivities! Happy trick or treating.


A delicious fruity treat


45 minutes prep + Up to 8 hours in the oven

INGREDIENTS

– 12 cups cubed and de-seeded watermelon

– juice of 1 lime

– 1 ½ tbsp honey

– 1 tsp coconut oil

METHOD

1. Preheat oven on the lowest temperature your oven will go with the fan setting on.

2. Chop and de-seed 12 cups worth of watermelon.

3. Blend watermelon until pureed.

4. Place a cheesecloth over a sieve and slowly pour the watermelon puree through both. You may have to stop halfway to stir gently with a spatula.

5. Keep stirring the watermelon puree until most of the water is drained and you’re left with a viscous watermelon mixture.

6. Line a sheet tray with baking paper and grease lightly with coconut oil.

7. Pour the watermelon mixture onto the sheet tray and spread with a spatula until it’s evenly spread and about 5mm thick.

8. Place in the oven and bake for up to 8 hours or until it’s dried and easy to peel off the baking paper.

9. Cut into strips with a pizza cutter or scissors and then roll up with a strip of baking paper.

Extra Tips

This recipe is fairly easy to make as it only involves blending, straining and then a long wait while it’s in the oven! However, de-seeding the watermelon takes some time so using fruit like strawberry or raspberry might be quicker. You can even put berries straight in the blender without worrying about the seeds.

Another thing to note is that if you have a dehydrator at home, it’s better to use that so your oven is not on for so long. It’s also safer to just leave on and go out for the day – the process is so slow and there’s little concern for overcooking. An hour either side won’t make much difference!

Watermelon Fries with a Sweet Yoghurt Dip

It’s been a few weeks since we posted our last recipe and we apologise! With the kids being back at school, and people are back from their summer holidays… let’s just say we’ve been a little busy. 

On that note, we wanted to give you some ideas to start the school year off on a healthy and happy note.

Finger Fruit, the perfect little bowl of goodness for back to school lunches or simply as a delicious snack. These watermelon fries are all we can think about and we highly recommend them, especially with the sweet and zesty dip! Oh…did we mention that it’s super easy to make?

Without further ado, we wish you a fruitful start to the new school year and hope you enjoy our latest recipe!


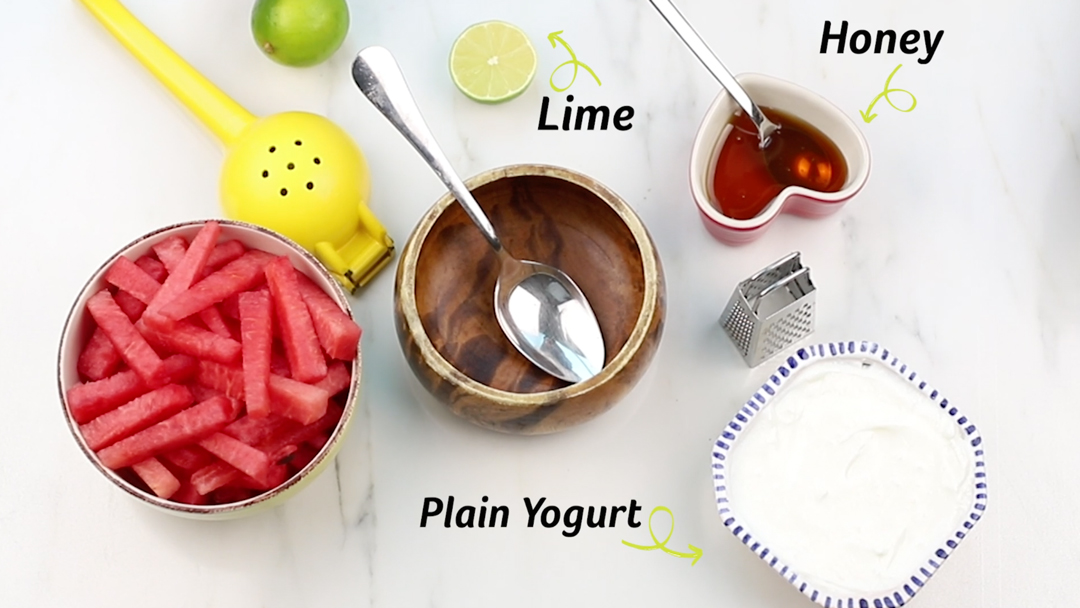
INGREDIENTS 

Half a watermelon is essential (haha/wink)

Plain yoghurt

1 lime

A spoonful of honey (or as much as you want)


Makes1 serving 


Cut watermelon into long fry size wedges (2cm wide) 

Mix ½ cup yoghurt with a spoon of honey, ½ a lime and lime zest. 

You can also add vanilla or cinnamon for more flavour. If you have a picky eater, you can simply add honey to yoghurt.


And…enjoy!

Dates stuffed with sunbutter

First and most importantly, Ramadan Kareem from the Fruitful Day team! It’s always a magical time of year to spend with family and friends, but it’s equally important to keep health in mind during the Holy Month. Fasting or not, it is easy to get dehydrated with the temperatures steadily on the rise. Make sure to hydrate as much as you can at night and think about foods that will keep you full for longer.  

Amongst the foods that will keep you fuller for longer are foods high in protein.  Peanut butter is of course one of the more well-known high protein foods, but many kids and adults aren’t able to eat it because it contains nuts. For this reason, sunflower seed butter is actually a great substitute!

Sunflower seed butter is full of healthy fats, vitamin E, and magnesium, which has the added benefit of helping you with your digestion.  

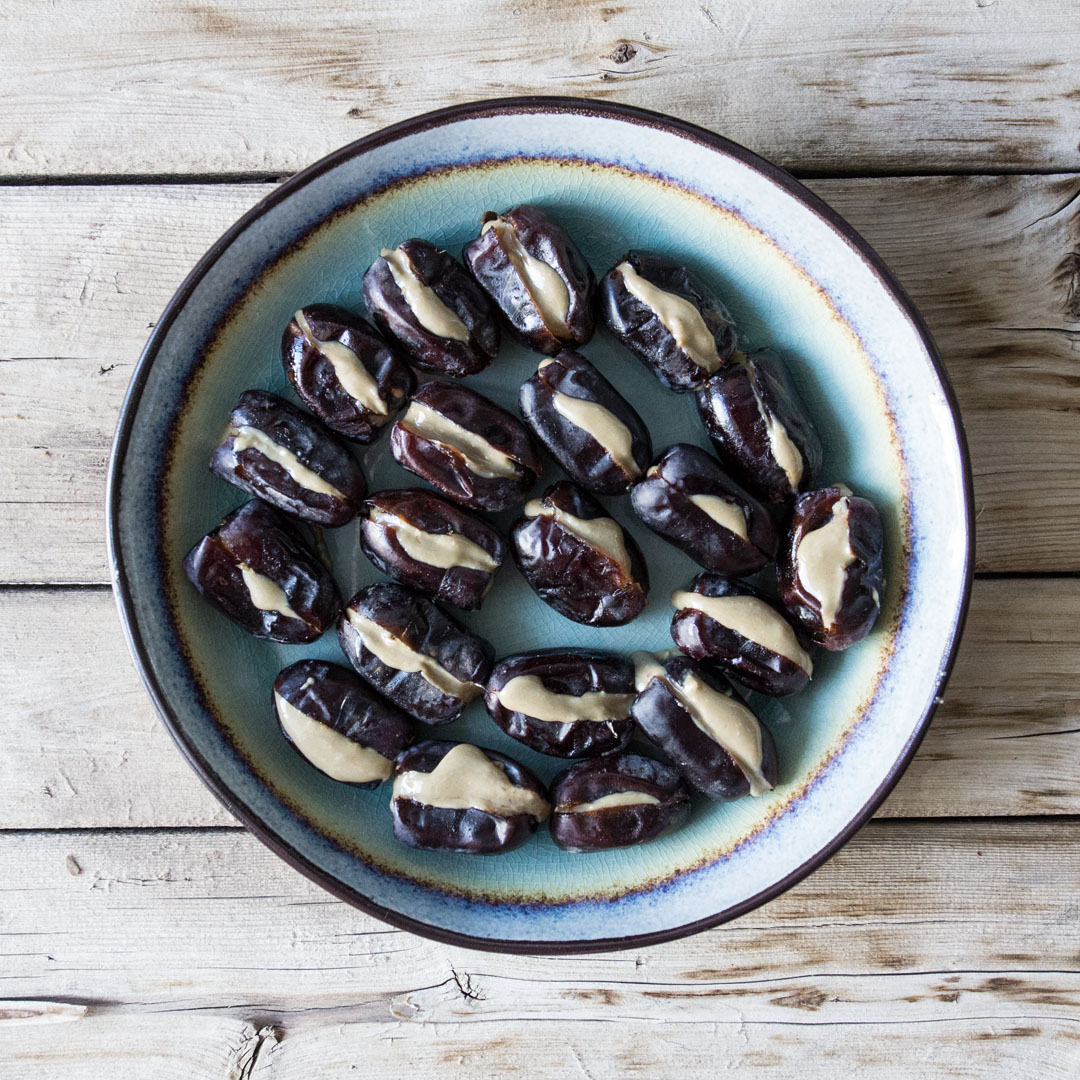
Today’s recipe is a super simple snack, dates stuffed with sunbutter! In addition to the sunbutter, dates are good source of vitamins and minerals. Perfect for breaking your fast and getting you on your way to a healthy Ramadan!

Dates stuffed with sunbutter (sunflower seed butter)

20 minutes (depending how many dates you want to do)  

Ingredients

  • Dates
  • Sunflower seed butter

METHOD for the biscuit

1. Cut each date open with a sharp knife, however, don’t cut it all the way through the date.

2. With a small teaspoon, spoon out a small amount of sunflower seed butter and put it into the space where the seed was.

3. Close the date and consume immediately or leave to set in the fridge.

Pineapple Burger

If you follow us on Instagram (@fruitfuldayuae in case you don’t),, you’ll know this is the week of the pineapple! Pineapple is great in a fruit salad, but there’s lots of other unique ways to incorporate pineapples in your meals. Here’s a fun idea to do something a little different, a pineapple burger!  

Usually cutting out bread or gluten can often make people feel deprived as they can no longer enjoy foods like a burger. This substitute with a pineapple is tasty and colorful. However, remember to choose pasture raised beef, not only is the fatty acid profile much more favorable, you’ll also be doing a service to the environment by avoiding industrialized meats.

Have we told you lately if you were a fruit, you’d be a fine-apple?

Pineapple Burger (makes 5 small patties)

1 hour

Ingredients for the patties
  • 500g pasture raised beef
  • 1 tsp salt
  • ¾ tsp dried oregano
  • ¾ tsp dried thyme
  • ¼ tsp black pepper
Other ingredients
  • 1 large tomato
  • 1 large onion
  • 5 cross section slices of pineapple
  • 5 slices of pasture raised aged cheddar cheese
  • 5 lettuce leaves
METHOD for patties

1. Put two skillets on medium heat and turn on the grill/broiler on the oven.

2. Mix all spices and salt and add to the ground beef mixture mixing thoroughly.

3. Bring about 100g (a palm sized) amount of ground beef mixture together in your hands and shape it into a burger patty.

4. Slice tomato, onion and pineapple into 1cm thick slices.

4. Put a small amount of ghee on the skillet and then add the burgers.

5. As they cook add the tomato, onion and pineapple to the other skillet.

6. Flip the patties after 5 minutes or so and cook the other side for an equal amount of time (or longer depending on the doneness you prefer)

7. Remove vegetables and pineapple from the skillet as and when they are done. done. The tomato will cook quickly, the pineapple next and the onion last.

8. Once the burger is ready, place a slice of cheese over the top and place in the oven to melt the cheese.  

9. Remove from the oven and assemble all layers on top of the lettuce leave.

Avocado Chocolate Mousse

Last week we introduced you to the newest addition of the Fruitful Day family, a fruit bouquet! It’s made with strawberries, raspberries, blackberries, physalis, and a touch of mint.

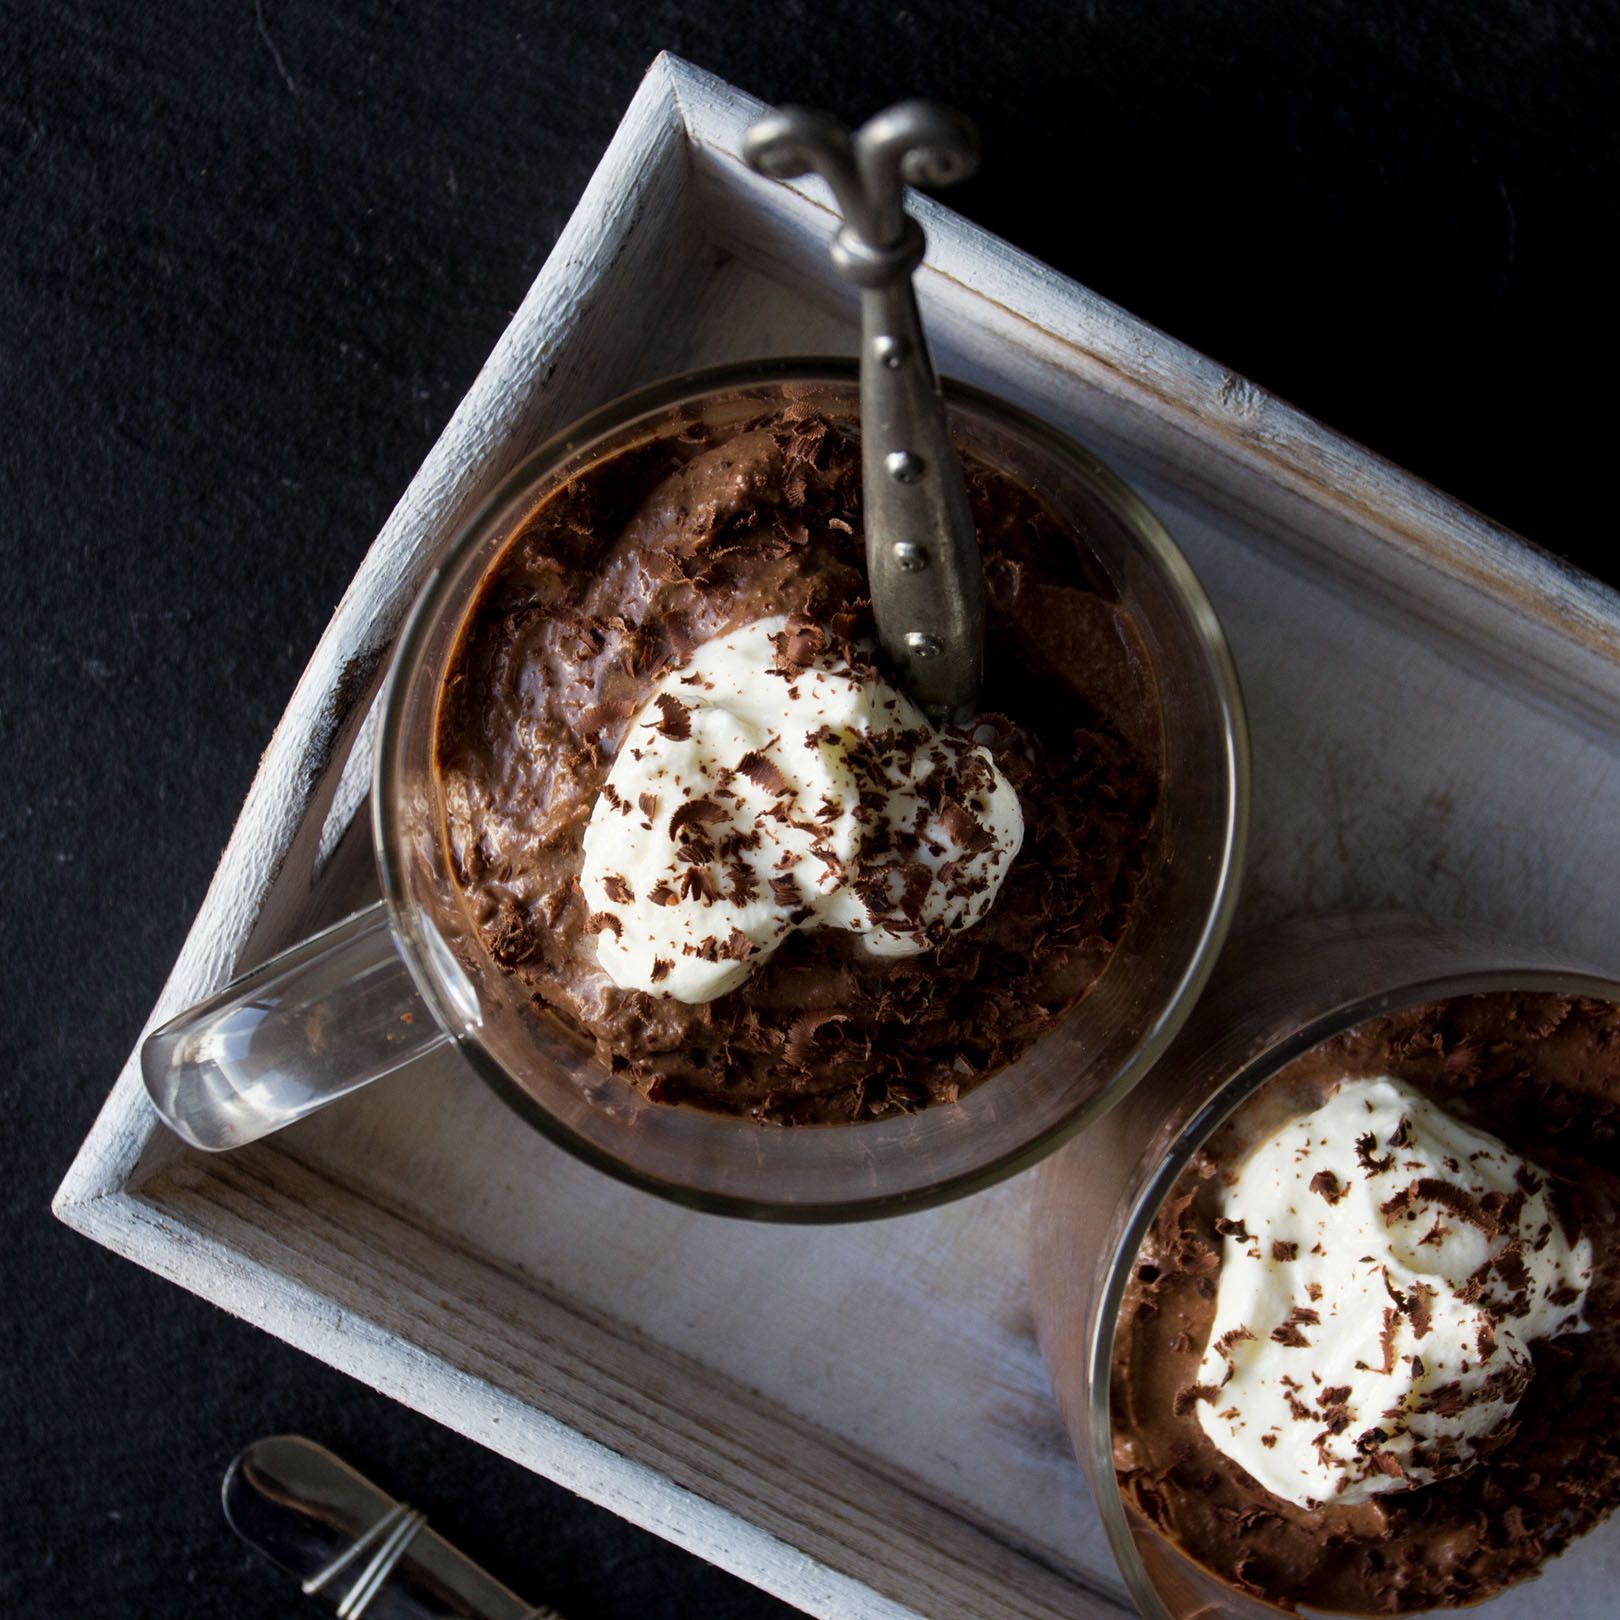
We wouldn’t want you to go without a new recipe for your Valentine too though!  This week we are sharing a recipe for an avocado chocolate mousse, which is a little different than your typical mousse as it uses melted chocolate achieving an extra creamy texture.

Whether you’re single, taken, or just plain hungry, we’re sure you’re going to love this dessert!  Wishing you a happy, healthy Valentines Day from the whole Fruitful Day family. 

Avocado Chocolate Mousse (serves 2/3 for dessert)  

30 minutes

Ingredients

  • 100g dark chocolate (you can use 70% cacao)
  • 1 tsp vanilla essence
  • 100g coconut cream (to make this – put the tin of coconut cream in the fridge overnight. In the morning, scoop only the cream off the top leaving the water behind. Set aside).
  • 1 avocado from the Fruitful Day Box
  • ½ tbsp honey (optional)
  • 50g full fat yoghurt or coconut yoghurt

METHOD

1. Place a glass bowl over a saucepan of simmering water. Chop the chocolate into small pieces and place into the bowl to melt.

2.  In a separate bowl, smash the avocado with a fork.

3. Place the coconut cream in a bowl and beat with a hand beater until it forms soft peaks.

4. Add the chocolate, vanilla, yoghurt, honey to the avocado and blend with a hand blender.

5. Add the whipped coconut cream and blend (leave a few tablespoons aside for garnish)

6. Garnish with coconut cream and grated dark chocolate.