We’d like to wish you all a Happy New Year and share with you our first recipe of the year!
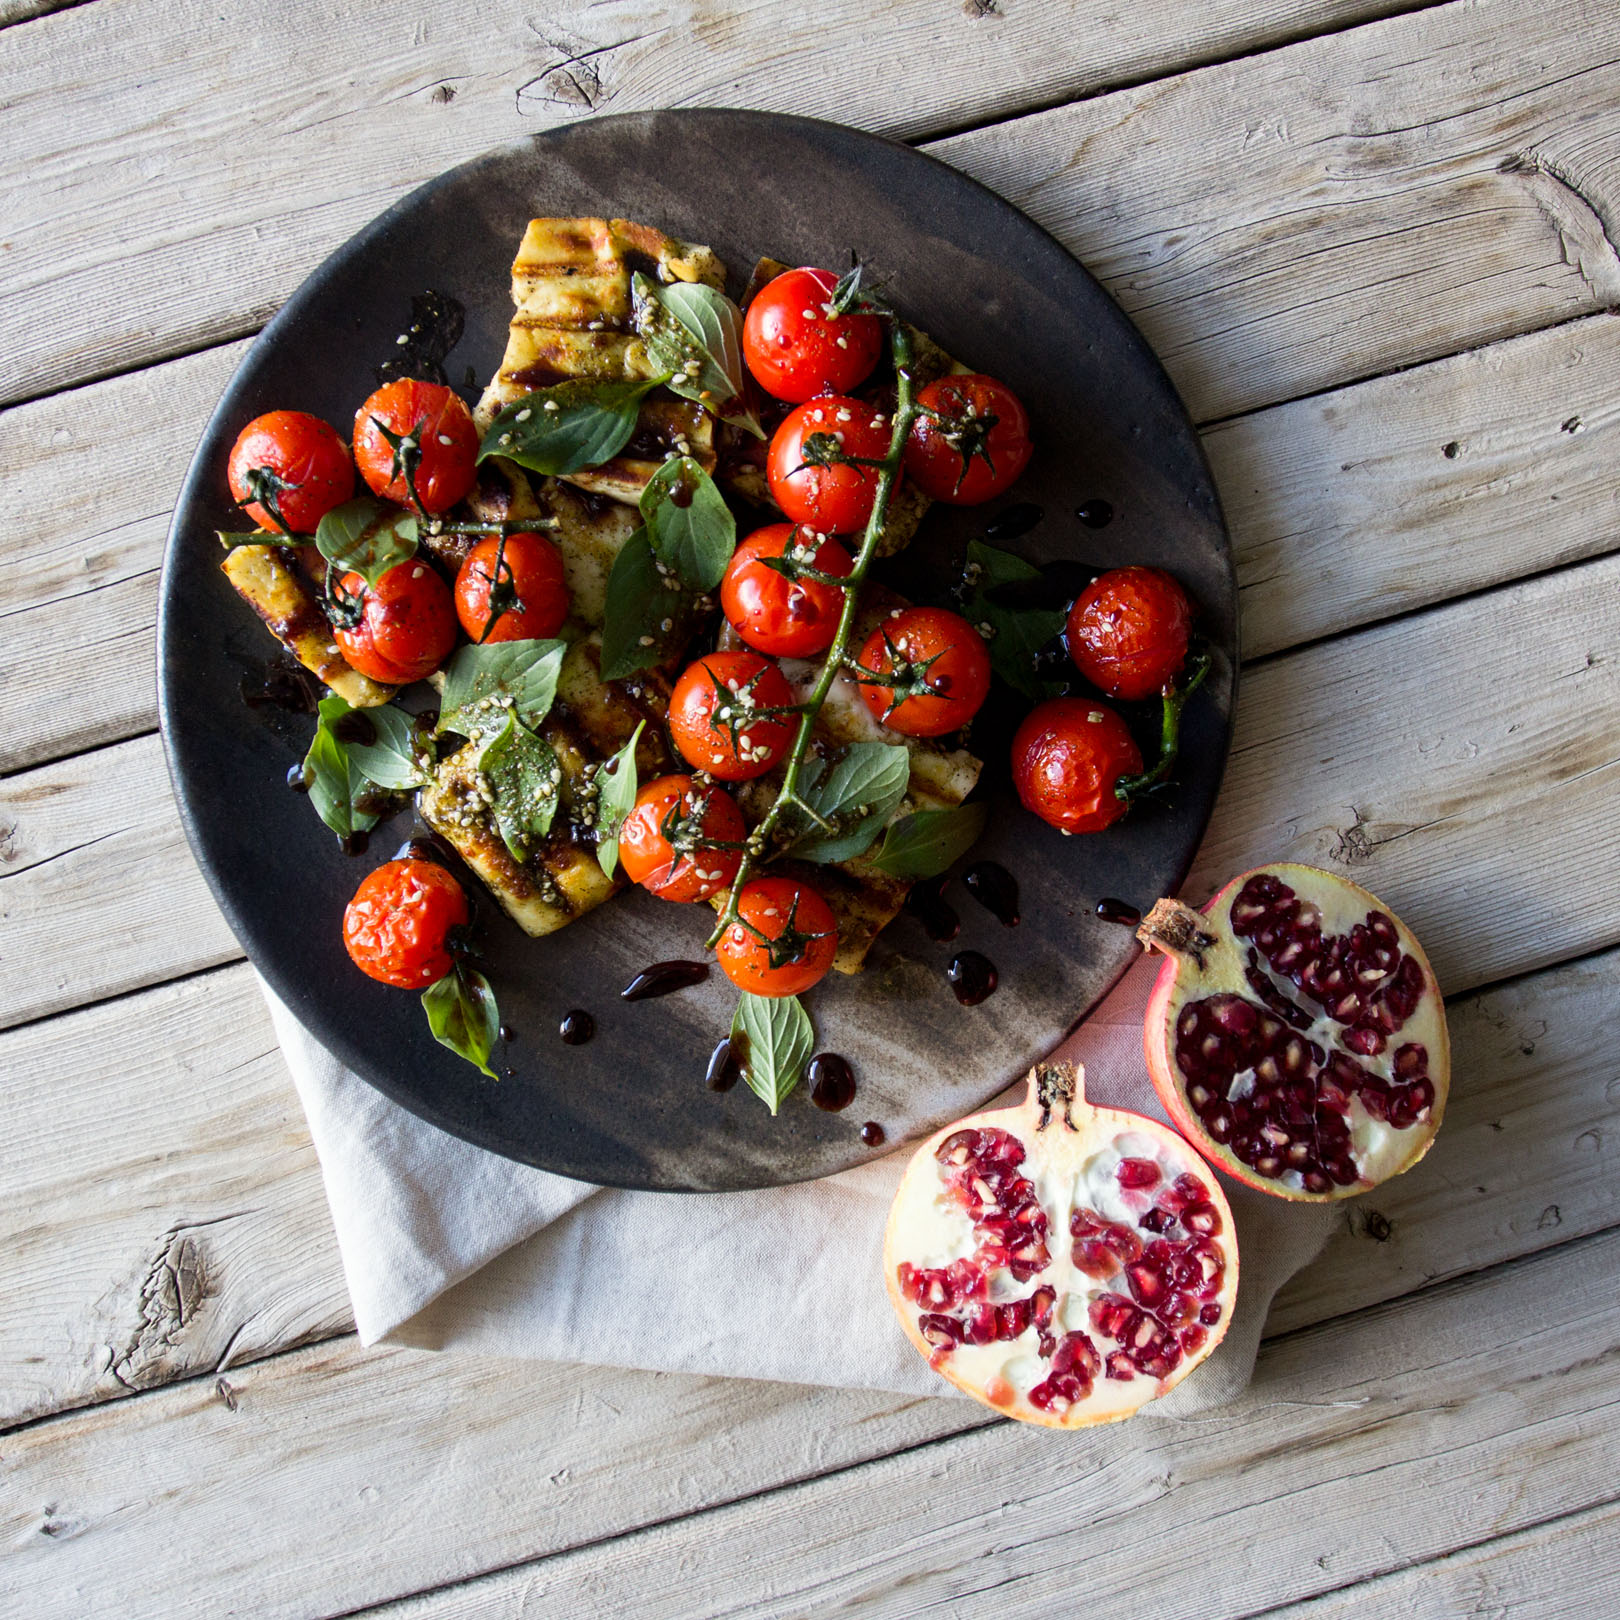
Halloumi & Cherry Tomato with Pomegranate Molasses
Not only is it easier to make than expected, but it would make an impressive DIY gift in a cute jar with a label, and can be used for many applications beyond just a salad! (makes enough for an appetizer for 4)

Ingredients for the salad
1 hour (including making the molasses)
- One vine of cherry tomatoes (approx. 16 cherry tomatoes)
- Eight slices of halloumi
- One handful of basil leaves
- Two tablespoons olive oil
- Two tablespoons of zaatar
- A pinch of salt
Ingredients for the pomegranate molasses
- 1/12 – 2 cups of pomegranates from the Fruitful Day Box
- ¼ cup of coconut sugar
- 3 tbsp lemon juice
METHOD for the molasses
1. Put the pomegranate seeds through a juicer to extract the juice. Alternatively, (if you don’t have a juicer) you can blend the seeds and then pour through a strainer.
2. Place pomegranate juice, lemon juice and coconut sugar in a medium saucepan on medium heat. Bring to a simmer and then turn down to a very gentle simmer.
4. Let the juice simmer very slowly for up to an hour. It should reduce down by at least half. Once it begins to become more viscous, stop simmering. Bear in mind it will thicken once cooled, so don’t over reduce as it will be too sticky.
METHOD for the salad
1.Preheat oven to 180 degrees C.
2. Slice the halloumi into 8 slices about ½ a cm thick and 8cm long. Marinate them in 1 tablespoon zaatar, one tablespoon olive oil and salt.
3. Place the tomatoes (still attached to the vines) on a baking tray. Mix one tablespoon olive oil, one tablespoon zaatar and salt and pour over the tomatoes. Bake for 10 – 15 minutes.
4. While tomatoes are baking, put a skillet on medium heat.
5. Place the halloumi slices on the skillet and cook for several minutes on each side.
6. Assemble the halloumi and tomatoes on the plate. Add the basil. If necessary sprinkle with more salt, zaatar and olive oil.
7. Using a spoon, garnish the whole dish with the syrupy pomegranate molasses.
8. Enjoy!