We can’t believe it’s 2019 already! We’ll be continuing to share recipes this year, but what we’re even more excited about is that Michelle Harvey, a Nutritional Therapist, is going to guest blog throughout the year and help us to understand how some simple changes to our diet can have a huge impact on our well-being. Look out for her first blog article in the coming 10 days. We think you’re going to love her just as much as we do!
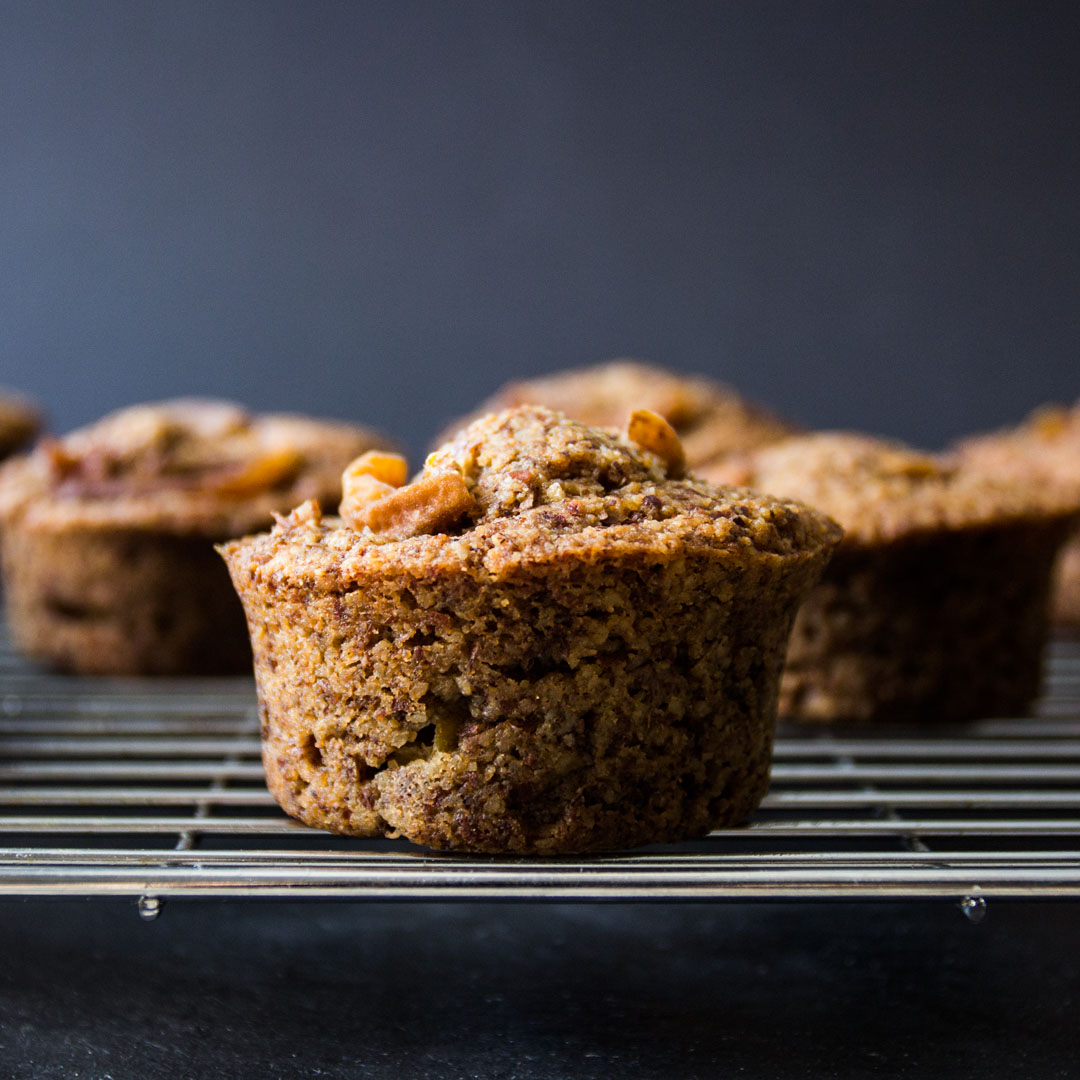
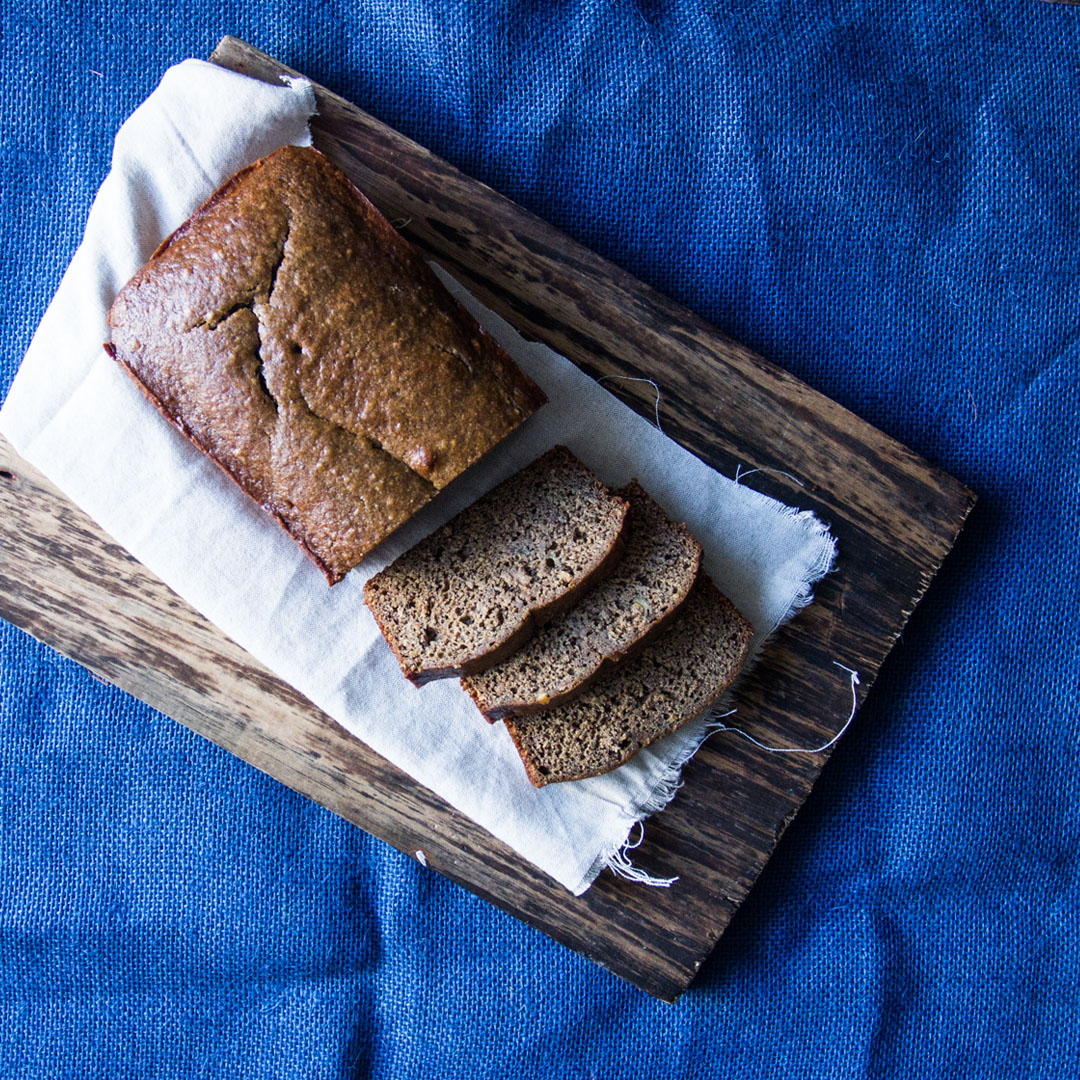
In the meantime, we wanted to share an easy banana bread recipe with you. This banana bread is a little bit different as it has banana flour in it. You may never heard of banana flour, but it’s actually a great addition to your diet because it’s a prebiotic! What is a prebiotic you ask? A prebiotic sets the environment for probiotics to work so it’s important to consume them together. Prebiotics, which are a type of non-digestible fiber compound, can be found in foods like bananas, artichoke, onions, garlic, apple skin, chicory root, beans, and many others. Although they haven’t gotten the press in recent years that probiotics have, they are actually just as important as they are the fuel that allows probiotics to work. It’s all part of keeping your gut healthy something Michelle will be talking a lot more about throughout the year.
We hope you’ll come back soon to learn more about simple ways to improve your health in 2019.
Banana Bread (makes two loaves 11cm x 22cm)

1 hour
Ingredients
- 100g coconut sugar
- 2 ripe bananas from the Fruitful Day Box
- 50g peanut butter
- 170g banana flour (you can order on Amazon)
- 50g oats
- 2 tsp bicarbonate of soda
- 100g milk or dairy free milk of choice
- 1 tsp cinnamon
- ½ tsp nutmeg
- 3 free range eggs
- 100g coconut oil
- 80g dates
METHOD
- Blend dates, bananas and peanut butter
- Combine mixture with all remaining ingredients and stir until a consistent texture is achieved
- Prepare loaf tin by lining it with greaseproof paper and preheat oven to 160 degrees C.
- Pour banana bread mixture into tins and bake for 40 minutes or until a skewer inserted comes out clean.
- Allow to cool on a rack before removing from the tin to consume.